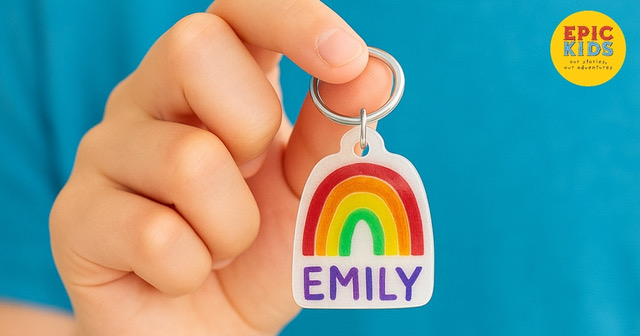
If you’re looking for a fun, low-mess activity that will keep kids entertained and result in a super cool keepsake, this one’s for you. Shrinky Dinks keychains are fun for all ages—and they’re surprisingly easy to make! Whether your child wants to doodle their pet, write their name, or create tiny fan art, this craft checks all the boxes.
Bonus: You can snag everything you need online—and we’ve linked it for you below!
What You’ll Need:
(Click the links to grab your supplies! These are affiliate links, which means Epic Kids may earn a small commission—at no extra cost to you.)
- Shrinky Dink or Shrink Plastic Sheets
- Permanent Markers or Sharpies
- Scissors (kid-safe, of course!)
- Single Hole Punch
- Key Rings or Ball Chains
- Parchment Paper
- Baking Sheet
- [Oven Mitts and Adult Supervision 😉]
Step-by-Step Instructions:
- Design Time!
Have your kids draw on the rough side of the shrink plastic using permanent markers. They can trace characters, write their name, or create freehand designs. Bold colors and thicker lines work best! - Cut It Out
Once the masterpiece is complete, cut around the design, leaving a small border. Use the hole punch to add a hole where the keyring will go (this must be done before baking!). - Shrink Time
Preheat your oven to 325°F. Line a baking sheet with parchment paper, place the designs ink-side up, and pop them in the oven. Within 1–3 minutes, you’ll see the magic happen—they’ll curl, shrink, and flatten out! - Cool and Connect
Let them cool for a minute, then attach your design to a key ring or ball chain.
Why Kids Love It:
- They get to be creative AND watch their art magically shrink.
- The finished product is something they can proudly clip to their backpack, lunchbox, or keys.
- It’s a perfect DIY gift for grandparents, teachers, and friends.
Parent Pro Tip:
Make a few extras and stash them away as party favors or holiday stocking stuffers. You’ll thank yourself later!